Description
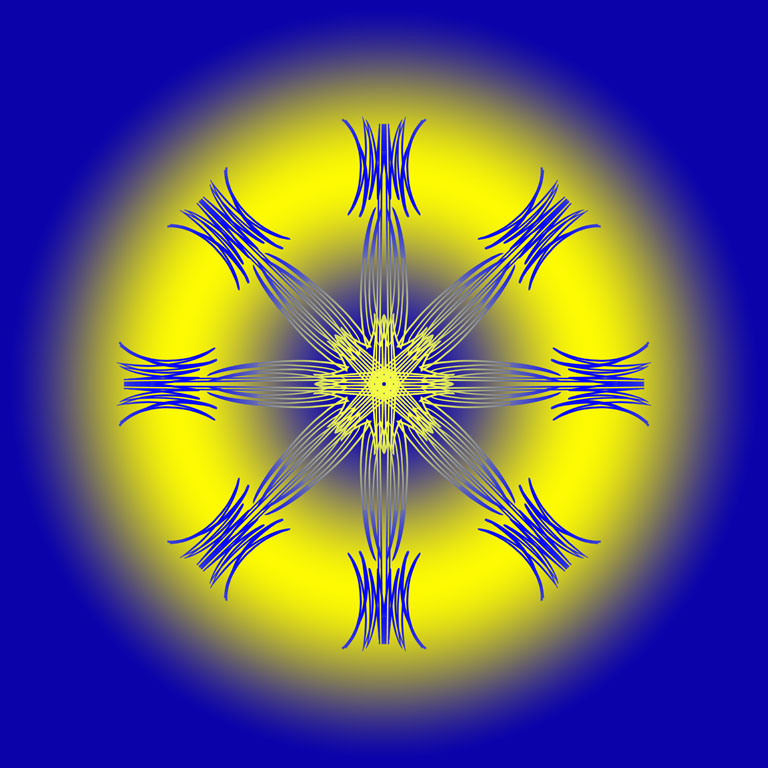
The Orb Recipe action is one that can transform a simple line like this image into something otherworldly.
The process is fairly simple, but works best, IMHO, with a simple line that covers a small area of the picture space.
Monochrome with Threshold
To achieve this result, you need to be working with a monochrome image and I find that a pure black & white works best in most situations. To get a pure black & white from this image, I first applied a Threshold adjustment layer and moved the slider until I found a simple line.
Mostly Black with Invert
Because this is an additive process, you need an image that is mostly black, with white lines. You can use the Orb Recipe – Invert action directly, but in this case I manually applied an Invert adjustment layer.
Run the Orb Recipe Action
Running the Orb Recipe action creates a layer that is flipped horizontally, then creates 3 new layer pairs that are rotated 90 degrees each time (90, 180, 270 degrees respectively). It then groups those 4 layer pairs and rotates them 45 degrees. I group the 45 degree rotations so that they can be turned off as a group. If your resulting image is too busy, try clicking on the eyeball next to the 45 folder.
Make it Square
In these examples, I modified the image to be square at this point by using the Image Resize dialog and making sure that the Constrain Proportions option was disabled.
This is a process that works better in most cases, if the image is square prior to running the Orb Recipe action.
Adjust the Gradient
Next you can adjust the Gradient Fill layer to get the colors they way you like. I rotated the gradient to 45 degrees and set the size to about 85 in this image.
There are several built-in gradients that can be applied, and I tend to prefer setting them to the Radial style (the default for my action). You can play with all of the settings after the fact, since it only takes seconds to produce the image.
Double-click on the gradient in the Layers panel to access the control dialog shown.
A Few Hints
Here are a few problems I’ve run into myself, and some possible ways to resolve them.
Make It Square Early
To create the After image above I made the image square right after applying the Threshold adjustment layer. I think we can all agree it is a better looking image than the one where I made the image square after running the action.
All Blue Image
If you end up with an image that is all Blue, it is probably because you are missing an Invert adjustment layer (or have an extra one). You can back up to the beginning and insert your own, or you can simply use the other version of the action (Orb Recipe or Orb Recipe – Invert).
Too Complex
If your Orb Recipe image turns out too complex, you can crop to simplify the lines, or add canvas using the Image, Canvas Size menu and adding more black (hopefully) or white (if you still need to invert) canvas around your lines. Complex lines that almost meet (leave a small circle) in the center can be quite interesting.


You must be logged in to post a comment.